Conexión Base Datos WildFly
Fuente:
Agregar Driver JDBC MySQL
Descargarlo desde
http://dev.mysql.com/downloads/connector/j/
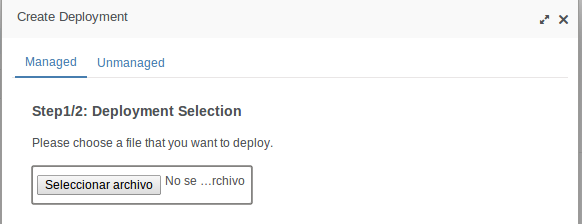
En Runtime→Manage Deployments→presionar el botón Add
presionar el botón Seleccionar archivo
seleccionar el driver jdbc mysql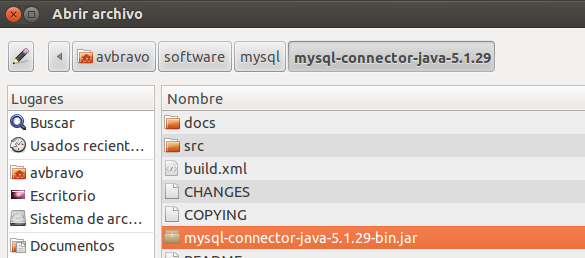
Presionar el botón Next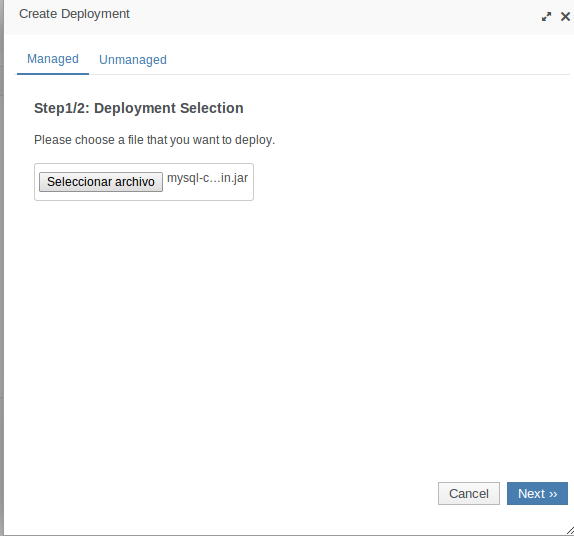
Presionar el botón Save
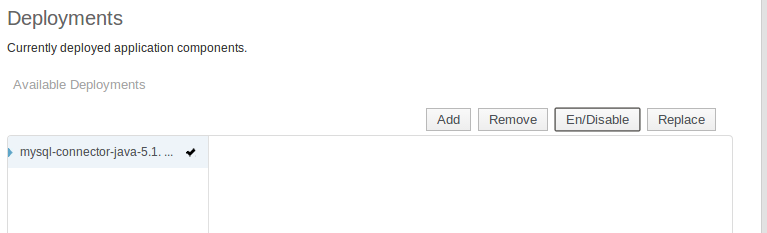
Se muestra el driver agregado,Dar clic en En/Disable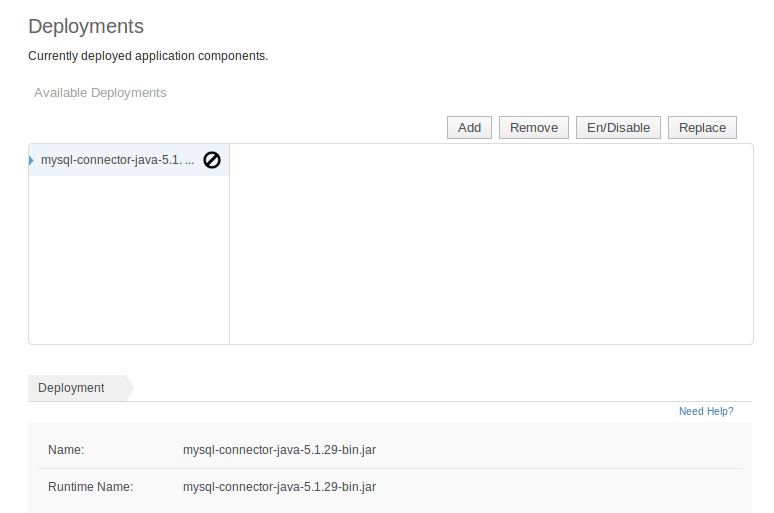
Confirmar la solicitud
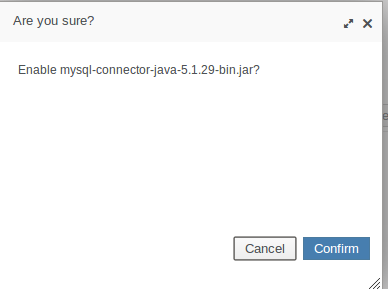
Se muestra el conector habilitado
Crear un modulo
Pasos:
- Entrar al directorio /modules/system/layers/base/com dentro de wildFly
- crear el directorio mysql/main
- Copiar el jdbc driver a ese directorio
- Crear el archivo module.xml
Entrar el directorio
cd wildfly-8.0.0.Final/modules/system/layers/base/com
Crear el directorio mysql
mkdir mysql
Crear el directorio main
cd mysql
mkdir main
Copiar el driver jdbc mysql al directorio main recién creado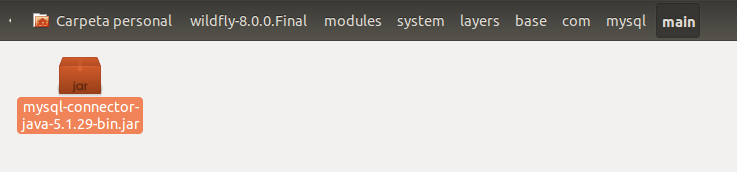
Crear el archivo module.xml
gedit module.xml
<?xml version="1.0" encoding="UTF-8"?>
<module xmlns="urn:jboss:module:1.1" name="com.mysql">
<resources>
<resource-root path="mysql-connector-java-5.1.29-bin.jar"/>
</resources>
<dependencies>
<module name="javax.api"/>
<module name="javax.transaction.api"/>
</dependencies>
</module>
Agregar la configuración
Podemos hacerlo desde la línea de comandos o editar directamente el archivo standalone.xml
Editaremos el archivo standalone.xmlt
gedit wildfly-8.0.0.Final/standalone/configuration/standalone.xml
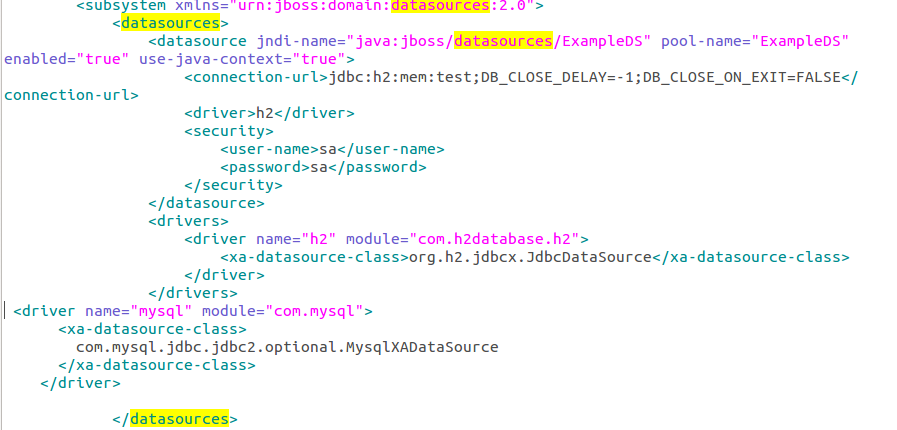
Localizamos <datasources>, agregamos el driver
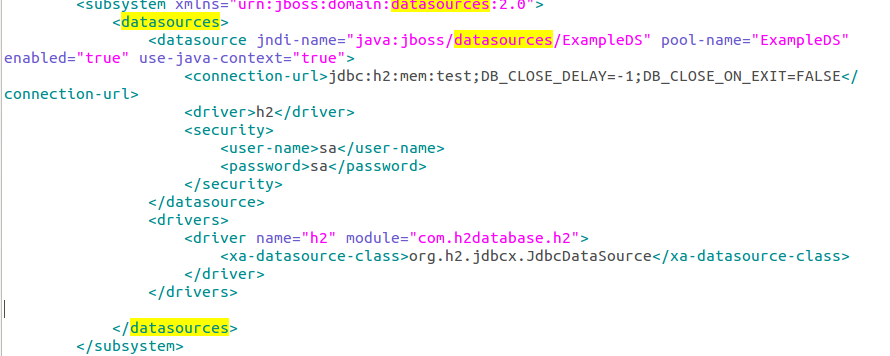
Agregamos el driver
<driver name="mysql" module="com.mysql">
<xa-datasource-class>
com.mysql.jdbc.jdbc2.optional.MysqlXADataSource
</xa-datasource-class>
</driver>
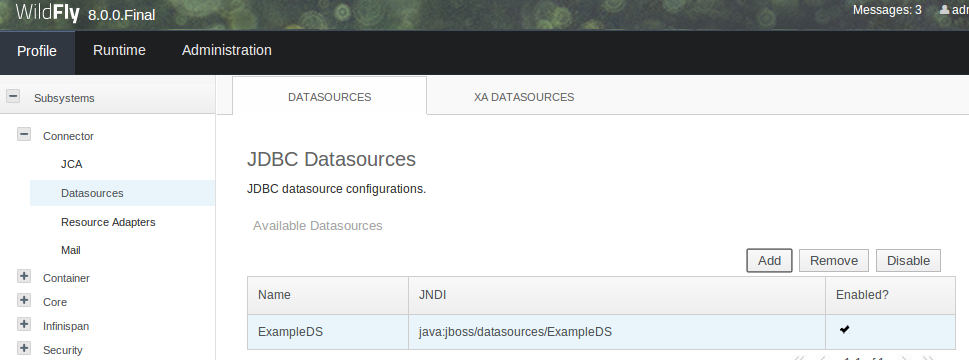
En Profile→ Connector→Datasources dar clic en Add
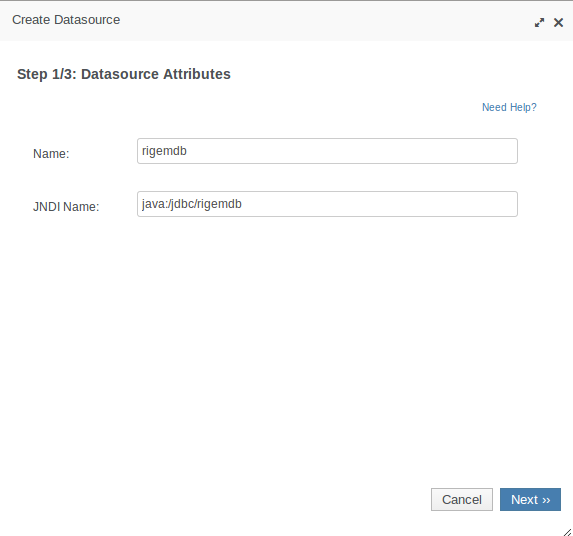
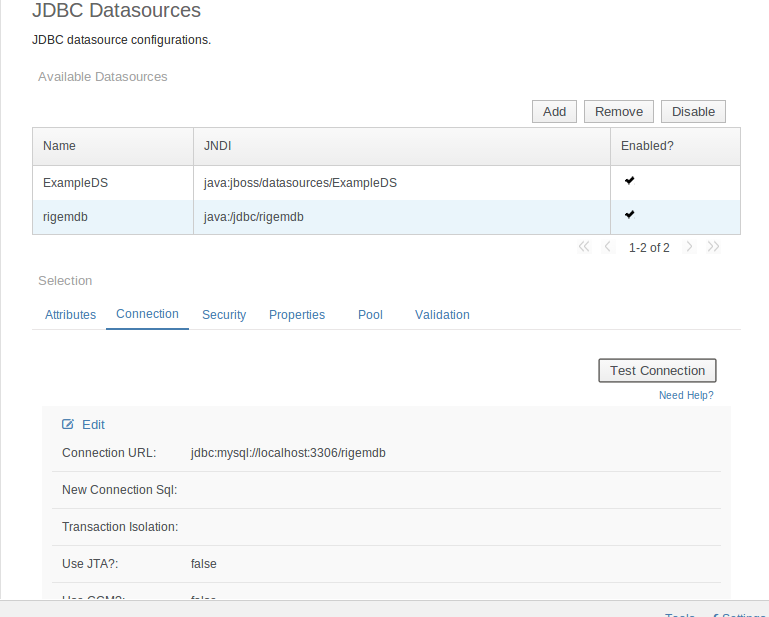
En Name colocamos el nombre rigemdb
y en JNDI Name a diferencia de GlassFish debemos incluir el prefijo java:/
java:/jdbc/rigmendb
En la siguiente ventana como detecto el driver mysql dar clic en Next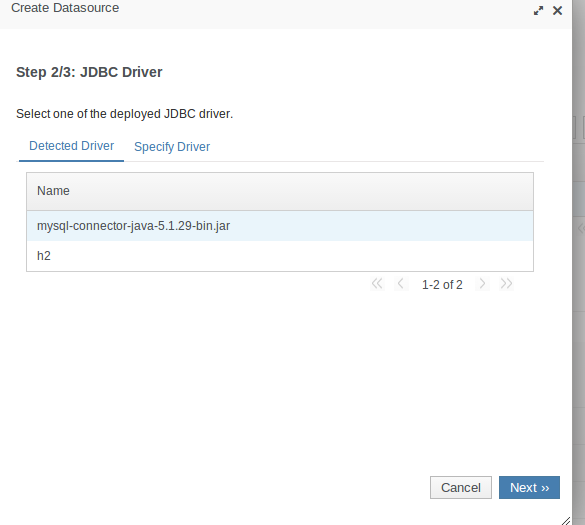
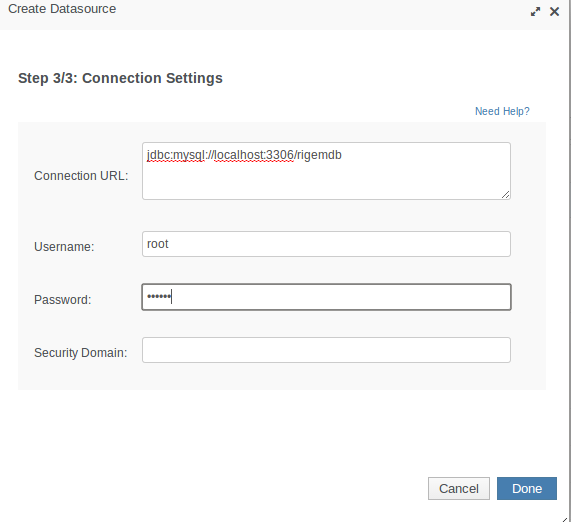
Especificar
- Connection URL: jdbc:mysql://localhost:3306/rigemdb
- Username: root
- Password: secret
Se muestra, el datasources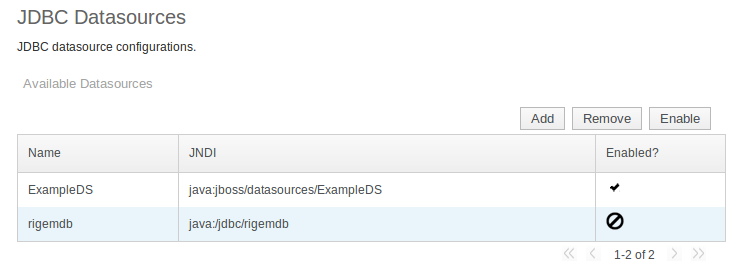
presionar el botón Enable,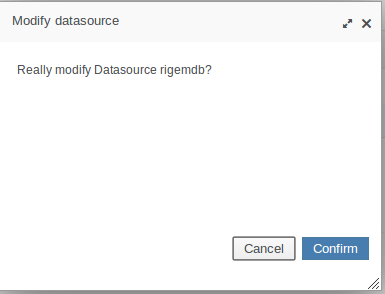
presionar el botón Confirm , para confirmar la solicitud
Queda habilitado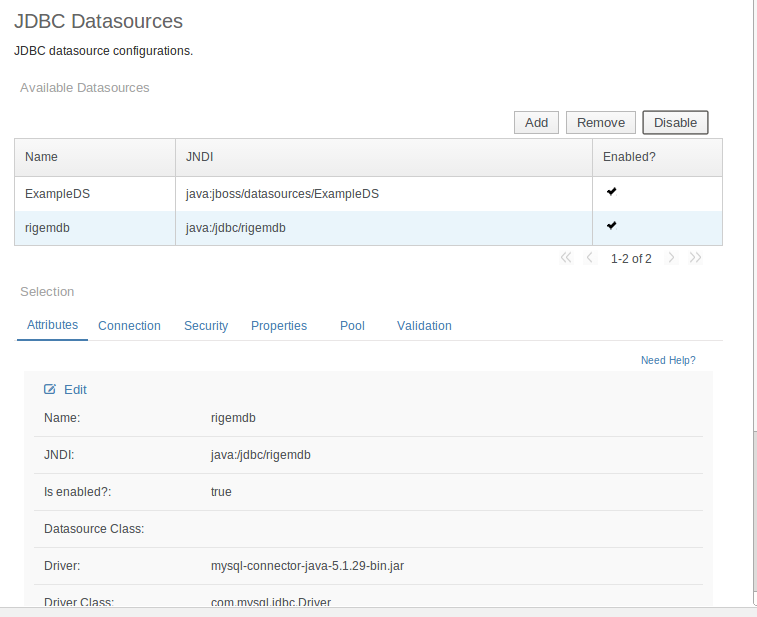
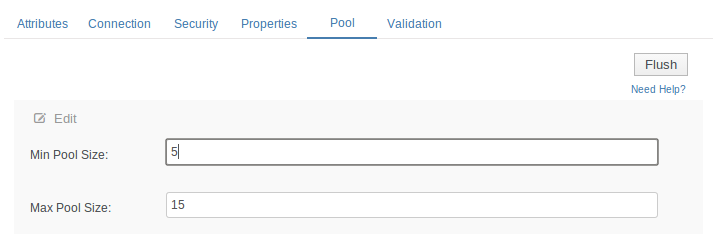
Seleccione la pestaña Pool y presione el botón Edit
y cambie los valores Min Pool Size a 5 y Max Pool Size a 15 y presione el botón Save
En la pestaña Connection dar clic en el botón Test Connection
Nos envía el mensaje de conexión exitosa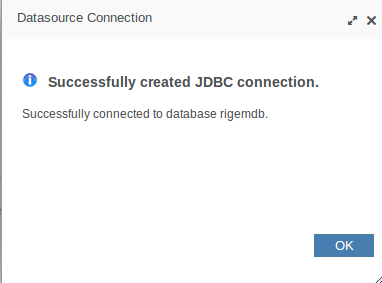
Comments
I think that you just could do with some p.c.
to pressure the message home a bit, however other than that,
this is fantastic blog. A fantastic read. I'll certainly be back.